Drafting Your Own Quilt Patterns
Beginning
I have used this method all my life. Many wonderful quilt designers use this simple method. You do not need line by line instructions. You just need to see or find the underlying grid in the quilt block design. With this method you can also easily alter size of each complete block by simple changing the underlying sub blocks or squares in the grid. This makes the math easy. Remember Quilting is Repeat Repeat and Repeat again. This method also allows you to decide what size sub blocks or squares you prefer. Many love 2 inch finished blocks I actually prefer 3 inch finished blocks. The quilters I if follow and typically get inspiration usually work with 1 inch sub blocks or squares. But the sky is the limit
When we draft or use a pre-drafted quilt block design. The size stated is always finished size of the complete block. So you must always add another ½” to each block and or sub blocks to account for seam allowance (assuming the standard ¼ inch seam allowance used in quilt patchwork).
Categories
Let me take a moment to explain the Grid systems that is used in drafting a quilt design. Most geometric quilt designs used in patchwork fall into a few categories. These categories are essentially squares divided into smaller squares. These smaller squares form a grid of 4, 6, 9, 16, 25, 36, 49 and 64 smaller squares. These Grids usually work in multiple simple Four Patch (4, 16, 36, and 64 smaller squares) and the Nine Patch (9, 36 smaller squares). But we can also have a combination which uses 25 and 49 squares. These are just the most common. But a patchwork block can be made of any number of smaller blocks, and they do not have to be square. You can also make rectangle block.
Note: ther e is another group of blocks, which will be covered in a separate post, that are not based on squares. These blocks are based on lines radiating from the center of the block in equal distances to the edge of the square. This is the foundation of an eight-pointed star grid.
Drafting
The secret to drafting a pattern is to recognize which grid your designs align. And secondly getting the grid to fit the desired finished block size. Lines of the grid in a design are not always visible. And many grid based designs have no squares at all in the design. You must superimpose a grid over the design in your mind.
Your ability to recognize these categories for designs I share is easier since the designs have the grid overlaid onto the block design. Even though the grid is overlaid many may find it difficult to draft the design. You can simply print several copies of your proposed design and then draw the grid lines until you find one that easily overlays or works with the design.
The grids are grouped into 4 separate categories. A design with a grid based on 4, 16, 64 are based on smaller four patch units. Those with 9 and 36 squares are based on Nine Patch units. (however, 36 squares can also be broken into 4 patch units, use which works best for you). The block design based on 25 smaller squares is based on 5 patch units and 49 smaller squares are based on the 7 Patch unit.
Creating the Grids
The first step is to decide the finished block size you desire. However, if your finished blocks size is not flexible, then you may be required to use odd size smaller blocks. Example using a 9-patch based design. If you want a 5-inch finished design, you will need to use 1 2/3 inch finished smaller blocks then need to add ½ for your seam allowance. See how complicated math can get. However, if you changed your block size to 6 inches finished you will need to have 2 inch finished smaller blocks which will make your smaller or sub cuts at 2 ½ inches. Which is significantly easier math. This is how I make my math easier.
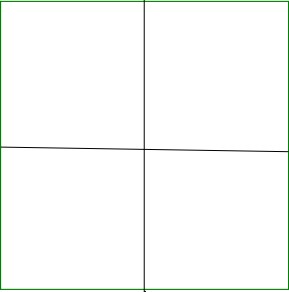
4 Patch Grids
4 Squares
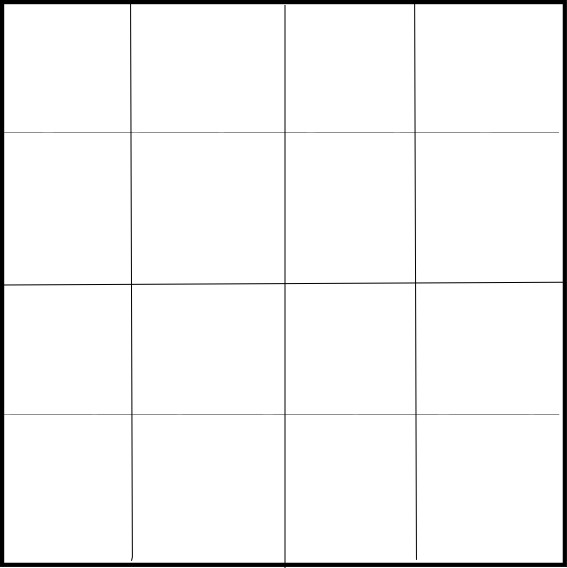
16 Squares
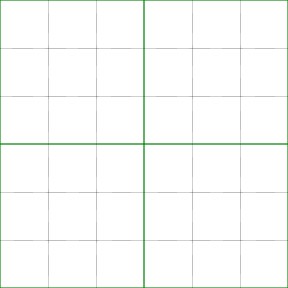
64 Squares
9 Patch Grids
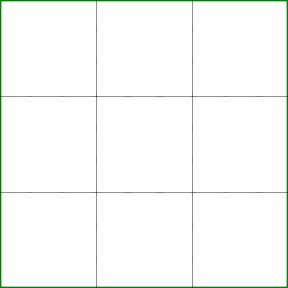
9 Squares
36 Squares
5 Patch Grid
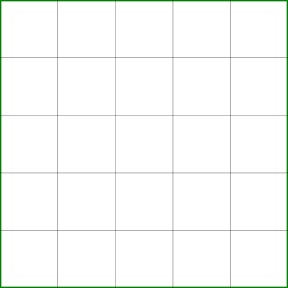
25 Squares
7 Patch Grid
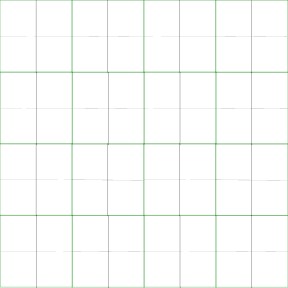
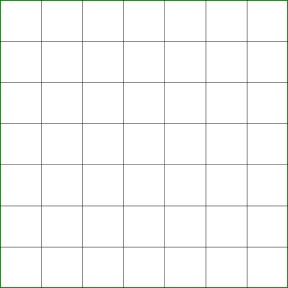
49 Squares
Now that you understand how to divided your block design into different grids, The math becomes easier. I personally work with individual square size and not worry about the finished size of my block.
So using 3 inch finished squares, remember you have to add ½ inch for seam allowance. So you would actually have to cut 3 ½ inch squares. But the math is much easier. Using the 4 patch design, the finished bock would be 2 x 3 = 6 inches. Or 6×6 inch finished block. Using the 16 patch grid, then you would have 4 x 3 = 12 inches, therefore, you would end up with a 12 inch finished block.
Even with the more difficult blocks like the 49 patch block or 7 patch grid, you would get 7 x 3 = 21. So you would complete a 21 inch square block finished.
This method makes math so simple you just need to worry about the induvial size of each block in the grid and then complete the grid. So the math becomes easy. However the smaller your individual sub blocks in the grid the more difficult and precise the stitching needs to be like if you use the 7 Patch grid and want a 7 inch finished block you would need 1 inch finished sub blocks. So always add your ½ inch seam allowance so all your cuts would need to be 1 ½ inches.
Ending Thoughts
The reason I love using 3 inch finished sub blocks or squares, is working with 9 patches, usually my preferred block style. You have options. So if you work with 3 inch the math becomes easier. Like if you want to add dimension to your block, using a 3 inch sub patches in your nine patch which give you a 9 inch finished block. But you can also easily add a nine patch into one of your 3 inch Sub patches or squares which gives you a nine patch in a nine patch. You just need 1 inch finished sub blocks. The match is 3 / 3 = 1 so easy math
Now you can see the endless possibilities. Each week on Friday I post a little quote and a block made from one of these grids. You are welcome to use any of these blocks. They are old vintage blocks with no copyright. So have fun.


Leave a Reply