He that would make his own liberty secure, must guard even his enemy from oppression; for if he violates this duty, he establishes a precedent that will reach to himself.
#ThomasPaine # Friday quote
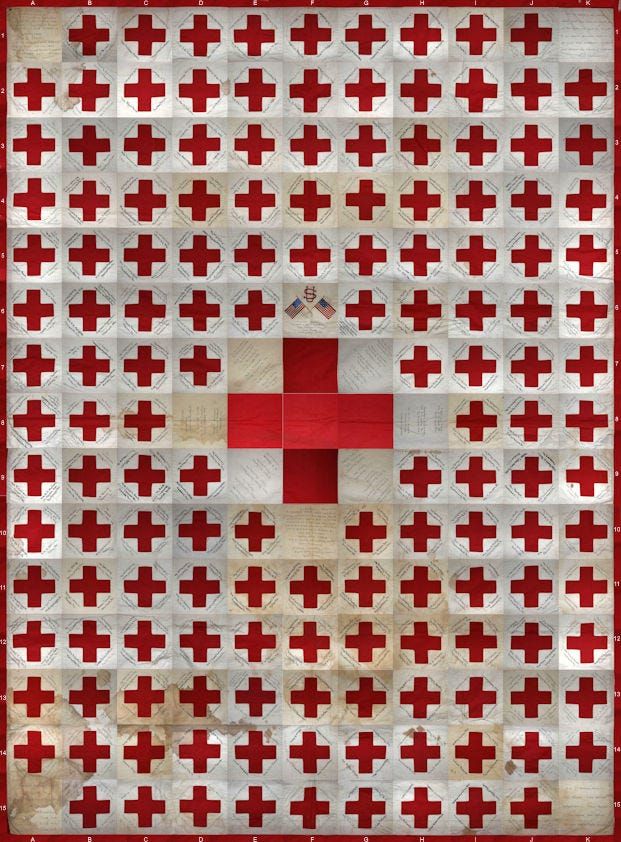
#Quilt – Red Cross from World War I
#Patchwork #Piecing #Pattern #GridPatchwork #GridPiecing #GridPattern #GridQuilting #Quilt #Quilting