Fascism is capitalism in decay.
#VladimirLenin #FridayQuote
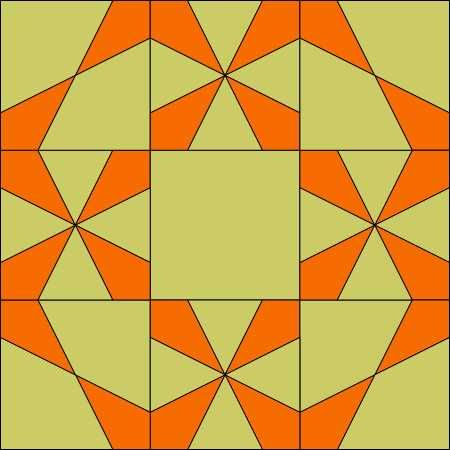
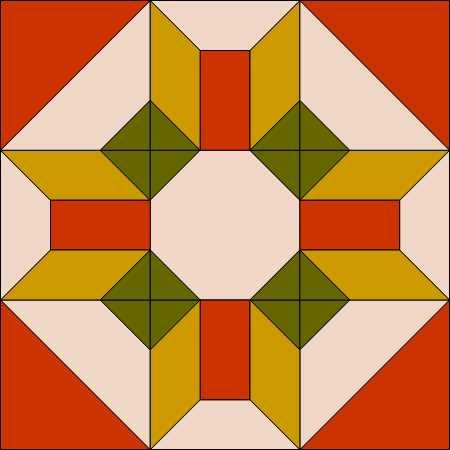
#QuiltBlock – Mona’s Choice – 1782 in #EncyclopediaofPiecedQuiltPatterns by #BarbaraBrackman
#PatchWork #Piecing #Pattern #GridPiecing #GridPatchwork #GridPattern #GridQuilting #Quilt #Quilting