Christmas waves a magic wand over this world, and behold, everything is softer and more beautiful.
#NormanVincentPeale #FridayQuote
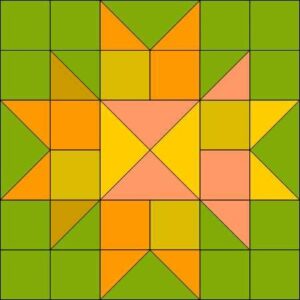
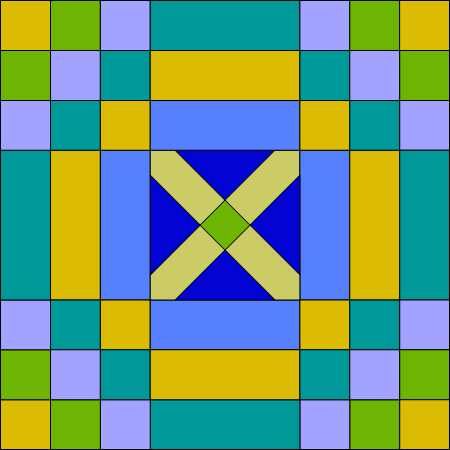
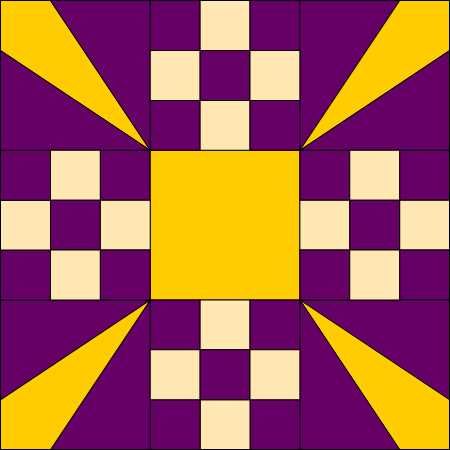
#QuiltBlock – Thunder and Lightening – 1774 in #EncyclopediaofPiecedQuiltPatterns by #BarbaraBrackman
#PatchWork #Piecing #Pattern #Quilt #Quilting #GridPiecing #GridPatchwork #GridPattern #GridQuilting