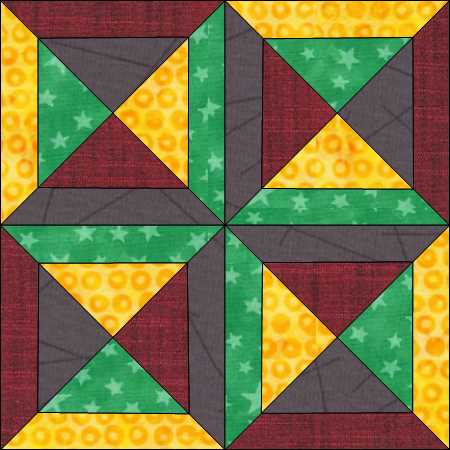
Framed Square – Block 12 Billie’s Sampler. Unique but simple. There are several ways to make this block. I chose to Foundation Paper Piece (FPP), wanting to get all the miter angles to align perfectly. Another way is to use simple Quarter Square Triangles (QSTs) with sashing. You can add sashing without the miter. or the with the miter the choice is up to you. this block is 12 1/2 x 12 1/2″ with 4 x 6 1/2″ sub blocks.
The sizes are exact. No room for any mistake or complication. Because I FPP i cut my pieces a little big. (Note: Need to learn to check the round to 1/8″ in the printing with Electric Quilt 8). Cutting HSTs should be 3 3/4″ square, QSTs should be 5 1/4″ and the strips should be 1 1/2 x 7 1/4″
Print four copies. each side should measure 6 1/2″.
Cutting
4 x 6″ square, 1 of each color (cut into QSTs)
2 x 2 1/2″ strips width of Fat Quarter (each of all 4 colors).
Assembly
secure center QST to FPP template. add 2 1/2″ strip . stitch on line, I used a 1.8mm straight stitch using 150wt core-spun polyester thread (Amann Metter Saba)
Assembly as 4 patch, be cautious to match all the seams and corners.
Finish assembling your QSTs into squares. 6 1/2 x 6 1/2″ Using magic pins (note these pins bend easily), Acorn seam align glue each piece was perfectly secure for stitching.
Assemble the 4 x 6 1/2 x 6 1/2″ sub blocks into a single 4 patch 12 1/2 x 12 1/2″ block.
Success! Block 12 Billie’s Sampler is complete, and double you have now completed 1/2 of the 24 blocks in the project. Congratulations.
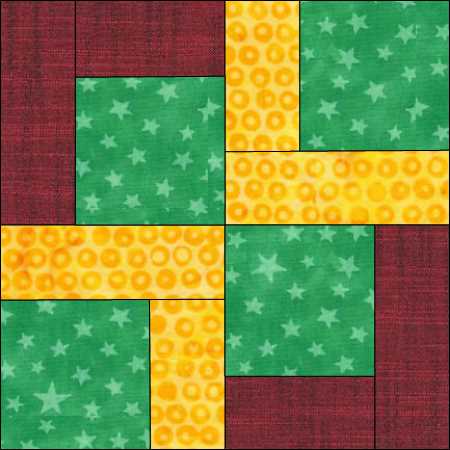
Patience Corner is a simple pieced block I also made a Foundation Paper Piecing template, in the case you wanted to be positive your lines are perfectly straight. I used 3 colors in this block. This block again finished at 12 1/2 x 12 1/2 inches
Cutting
4 x 4 1/2 x 4 1/2″ Square
4 x 2 1/2 x 4 1/2″ rectangle (2 x color option 1 and 2 x color option 2)
4 x 2 1/2 x 6 1/2 rectable (2 x color option 1 and 2 x color option 2)
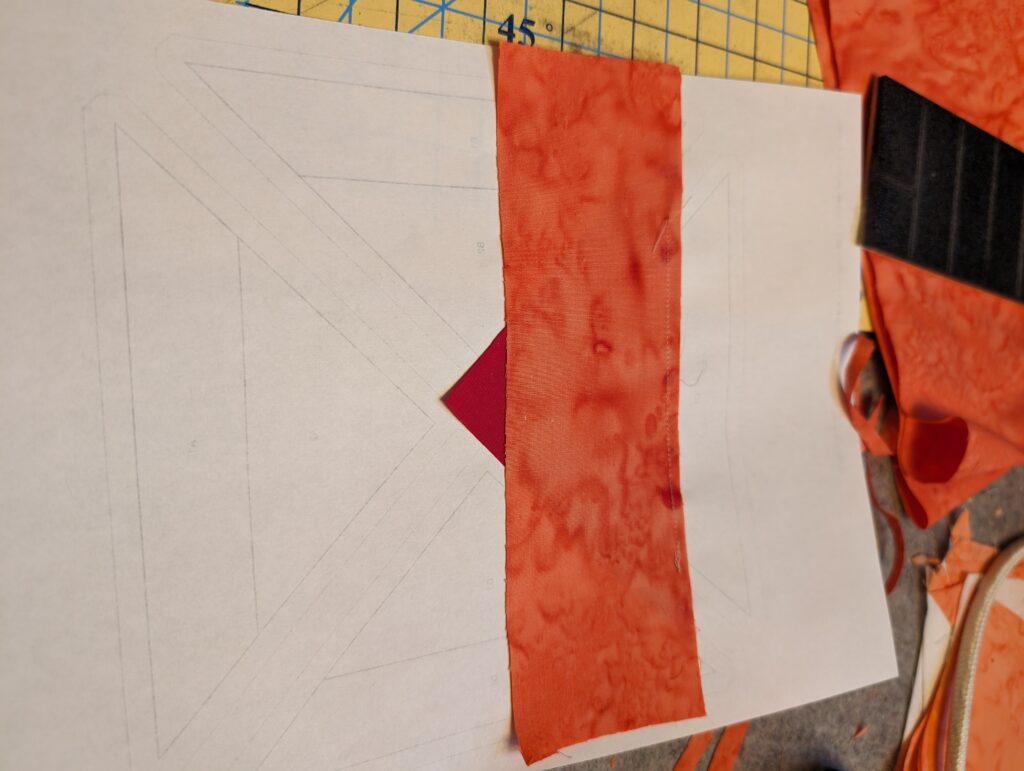
This is the Foundation Paper Piecing templates. I did not use this as this is a simple strip piecing.
Assembly
Stitch a 2 1/2 x 4 1/2 inch rectangle strip to each of your 4 x 4 1/2 x 4 1/2″ square. Press to the strip side. Next stitch the 2 1/2 x 6 1/2 rectangle strip to each of your now 4 1/2 x 6 1/2″ units Press to the strip side
Note: I used Solid Batiks. if directional fabric is selected then caution must be taken to make sure the strips and square are in the proper placement. Use grid in the cutting instructions.
Assemble the four 6 1/2 x 6 1/2 units together as a 4 Patch unit. Taking note the direction of your colored strips.
Success! Patience Corner Block 11 of the Billie Sampler is complete. What a fun and simple block.
An old block made from Half Square Triangles (HSTs) and Square sub blocks. This block will be 12×12″ finished. Using 2″ finished sub blocks. Garden Path can be assembled two different ways. The most used would be a simple Nine Patch configeration which leads to 4 main Blocks. Or a Four Patch configeration which leads to a 9 main blocks. The choice is yours, depending on which configuration you are more comfortable with.
8 x 2 1/2″ squares 4 x Squares for the center 4 Patch and 4 x Squares for each corner of the block. Choose Colors accordingly.
28 x 4″ squares 10 x Path color, 4 x secondary color and 14 x background fabric
Assembly
All the squares are cut.
mark the back of the 10 x 4″ background squares to create 14 x HSTs. And add your 10 x Path Color and the 4 secondary color squares. Use your preferred method. I choose to mark my actual stitch lines. You can also draw one line from corner to corner and stitch a 1/4″ on both sides of the line.
stitch the HST lines. I use a 1.8mm stitch length using 150 weight corespun polyester thread. This aliminates any bulk in the seams. My preferred thread is Saba from Amann Mettler
with all your squares stitched corner to corner, it is time to cut each square in half between the 2 stitching lines. This will create a total of 28 HSTs. Pressing each HST open, I choose to press to the darker fabric. Now using a Martelli 2 1/2″ square template trim all 28 HSTs. You do this by aligning 2 opposite corners of the template with the seam of the HST.
Note: you can use any method to make your HSTs. The choice is yours. You need 28 x 2 1/2″ HSTs. I choose make the HSTs larger and trim down as this elimates any non perfect seams, or stretched bias from heavy pressing etc.
Using 4 x 2 1/2″ squares lets assemble the center Four Patch Unit
Now with caution and patience lets assemble the remaining blocks. Starting with sets of 2. working from the grid layout in the cutting instructions and using your color choices. You should have 32 units ready for stitching using 1/4″ seam allowance. this excludes the center 4 patch we created earlier.
Pressing your seams to the darker fabric. next round assemble the 2 patch units into 4 patch units. Again taking care to match the grid in the cutting instructions. You want to the path around the center 4 patch perfect.
Note: I choose to make my blocks into sub 4 patch units and assemble the final unit as a 9 patch.
Success! Garden Patch Block 10 of the Billie’s Sampler is complete. You should have a 12 1/2 x 12 1/2″ block.
Jabob’s Ladder, Block 9 Billie’s Sampler is a simple wonderful old block. It is super simple. Based on a nine patch, but made with 5 sub four patch blocks and 4 sub half square triangle (HST) blocks. Block measures 12 x 12 inches finished.
Cutting
Square 2 1/2″ 10 x Colored Fabric and 10 x Background Fabric
Square 6″ 2 x Colored Fabric and 2 x Background Fabric
This is a simple block. The cutting instructions are exact cuts. No margin for error. I cut my HST blocks larger and trim to compensate for any error or miss alignment.
Assembly
Marking stitch lines on the background 6″ squares for making 2 at a time HSTs. I use a Studio 180 Magic Wand to mark the seam line. However you can draw a single line from corner to corner and stitch 1/4 from both sides of the line.
Using Seam Align Glue, I secure my square from corner to corner. The adding the colored fabric 6″ square
Using heat to set the glue, securing the squares. Ready for stitching.
For simplicity. start creating your 4 patch units. using 1 x color fabric and 1 x background fabric 2 1/2″ squares. 10 units are ready for stitching 1/4″ seam allowance
Stitch each side of the center of your square. I use a 1.8 mm straight stitch with 150 wt corespun polyester thread, There is absolutly no bulk in your seams. After stitching the 2 squares, cut down the middle corner to corner, creating 2 HSTs per square unit. Press your HSTs open. I press to the darker fabric.
Using the 4 1/2″ square template. Align opposite corners along the seam of your HST. The template will give you a perfect edge to trim your HSTs to the proper size.
Align your 2 patch units with opposits to create a 4 patch unit. Upon completion there will be 5 x 4 patch 4 1/2″ units.
Almost finished. Assemble your final 9 patch unit. your finished unit should be 12 1/2 x 12 1/2 inches. Also take note on the placement of the HSTs. This is important to complete the effect of the Jacobs Ladder block.
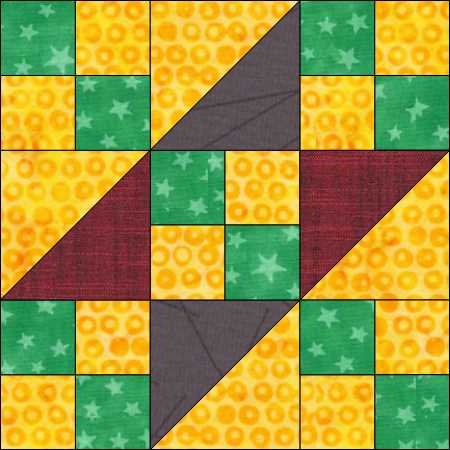
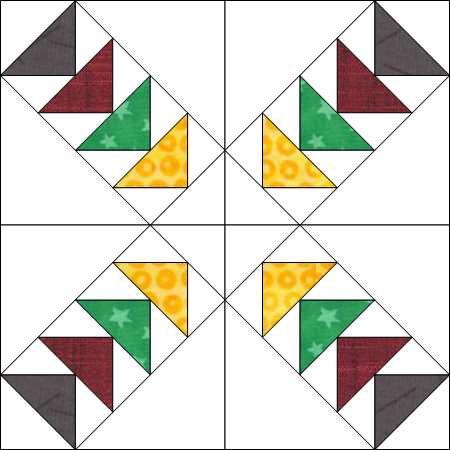
Block 8 Flying Geese was paper pieced. I thought i would be easier to create this block using Foundation Paper Piecing. This block will finish at 12 x 12 inches
The finished block is 12 1/2 x 12 1/2 inches and made up of 4 individual paper pieced blocks of 6 1/2 x 6 1/2 The block uses 4 colors in each sub block with a secondary background fabric. This makes a total of 5 fabric colors.
Cutting
Square 3 1/2 inch (4 Background, 2 x each Fabric (4 Fabric colors in total))
Square 5 1/2 inch 4 x Background Fabric
Square 4 inches 8 x Background Fabric
Half Square Triangles (HSTs) cut 4 squares of background fabric a minimum of 3 inchs. I used 3 1/2 inch for ease of assembly. Now cut these 4 squares corner to corner to create 8 HSTs.
Cut 2 squares each of your four fabrics for the center of the geese. Again cut each square corner to corner to create 4 HSTs of each color. There should be 16 colored HSTs.
Cut 4 squares of background Fabric minimum 5 inches. Again I added 1/2 inch for a 5 1/2 inch square to ease alignment of each piece. Again cut each square corner to corner to create 8 HSTs
Cut 8 squares of background fabric minimum 3 1/4 inches. However I cut mine to 4 inches. again to aid in alignment of piecing. Instead of cutting into HSTs. These 8 Squares will be cut into Quarter Square Triangles (QSTs). this is cutting corner to corner on block sides of the square to create 4 individual triangles per square block. there should be a total of 32 QSTs.
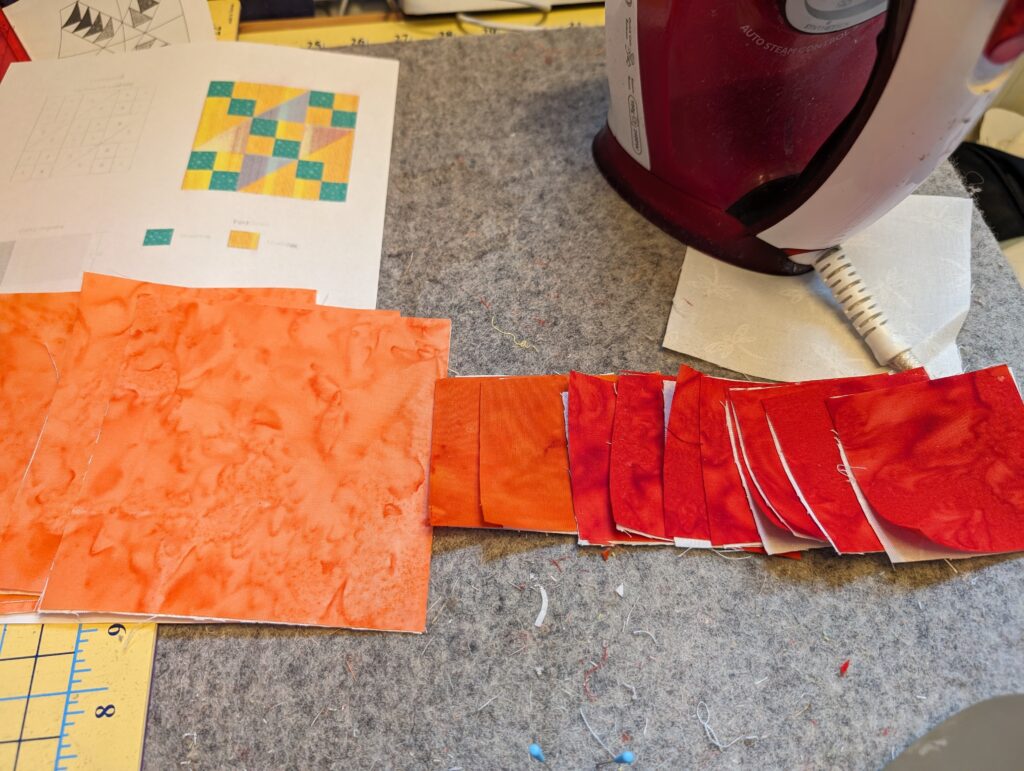
Above is the Cutting instructions to be printed These are exact sizes. (This comes from Electric Quilt 8, each cut includes 1/4 inch seam allowance.) I always increast my size a little and trim down Usually rounded to nearest 1/2 inch and then add 1/2 inch for error.
Above is the foundation paper piecing pattern. Print 4 copies. Please measure to make sure your printer is correct the dashed cutting line should measure 6 1/2 inchs the solid square line should measure 6 inches.
Note: I recently started using a new printer. A Brother. I had to increase my scaling to 103 percent to obtain the correct size. My old HP printer was very accurate. So please check your measurements.
Selecting the 4 HSTs of color fabrics and the Background fabric QSTs
with your FPPing print (making sure it measures 6 1/2″ along th e dotted cut line) Start with the first color fabric and squre to your template. you can start at either end. I usually start at the top in this photo, the long side of the colored geese unit.
Using the background QST units assemble them on each side of your first color HST geese unit. Use standard FPP techniques.
Continue to your second geese unit.
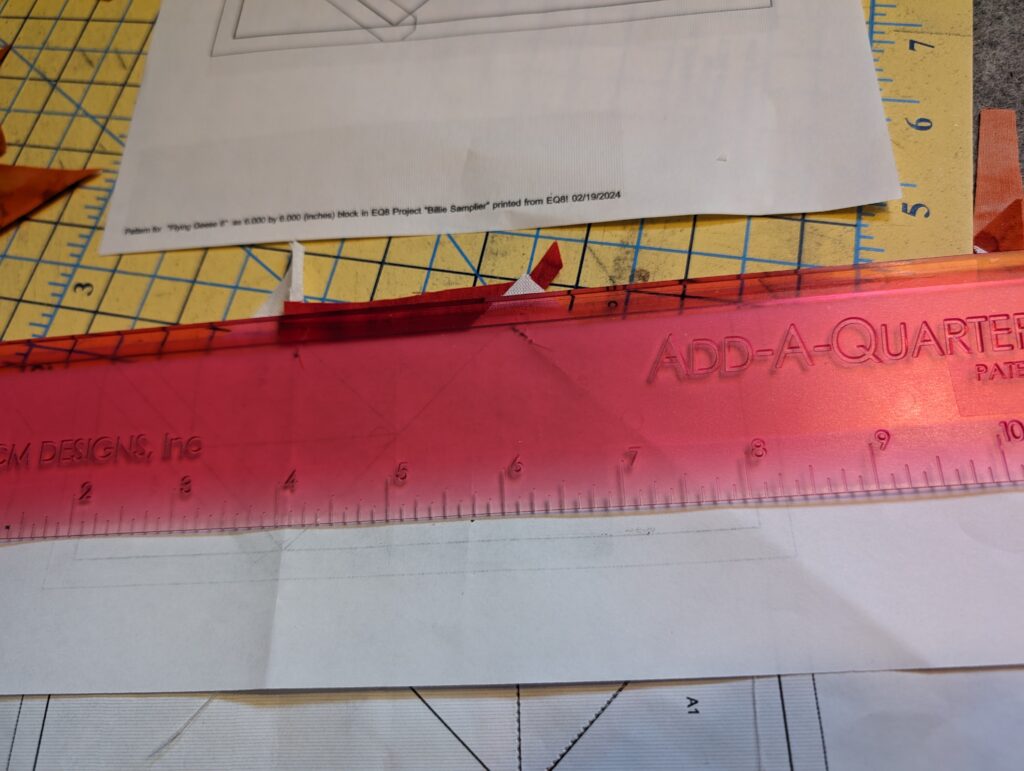
Using an Add A Quarter ruler I trim my edges there will be a little to trim on each piece because I made each of the pieces 1/2″ bigger
once all 4 queese are stitched. Add the smaller background HSTs on each end and now add the larger background HSTs to each side of the unit.
Repeat this to complete the 4 units.
Making sure the 4 units are properly aligned preceed to assemble each of the units
Success your 8th block is complete.
Note: recently i saw an vintage quilt using this block to create a Flying Geese Irish Chain. it was stunning. Make this block has made me appreciate Flying Geese So many options and they are not that difficult with proper cutting and a little patience.
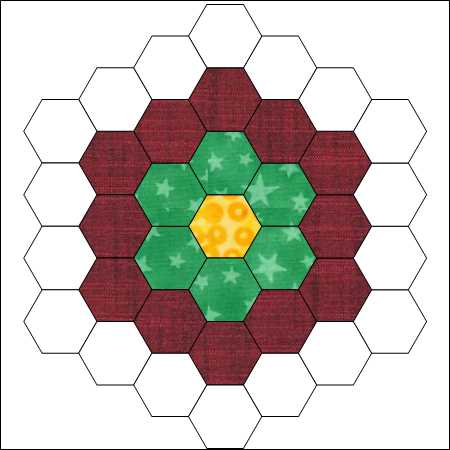
Grandma’s Flower Garden Block is old basic Hexagon design. This block can be Pieced, English Paper Pieced or Appliqued. The applique method depends on your personal style. You can use Raw Edge, Turned Edge, or like I, Satin Stitch.
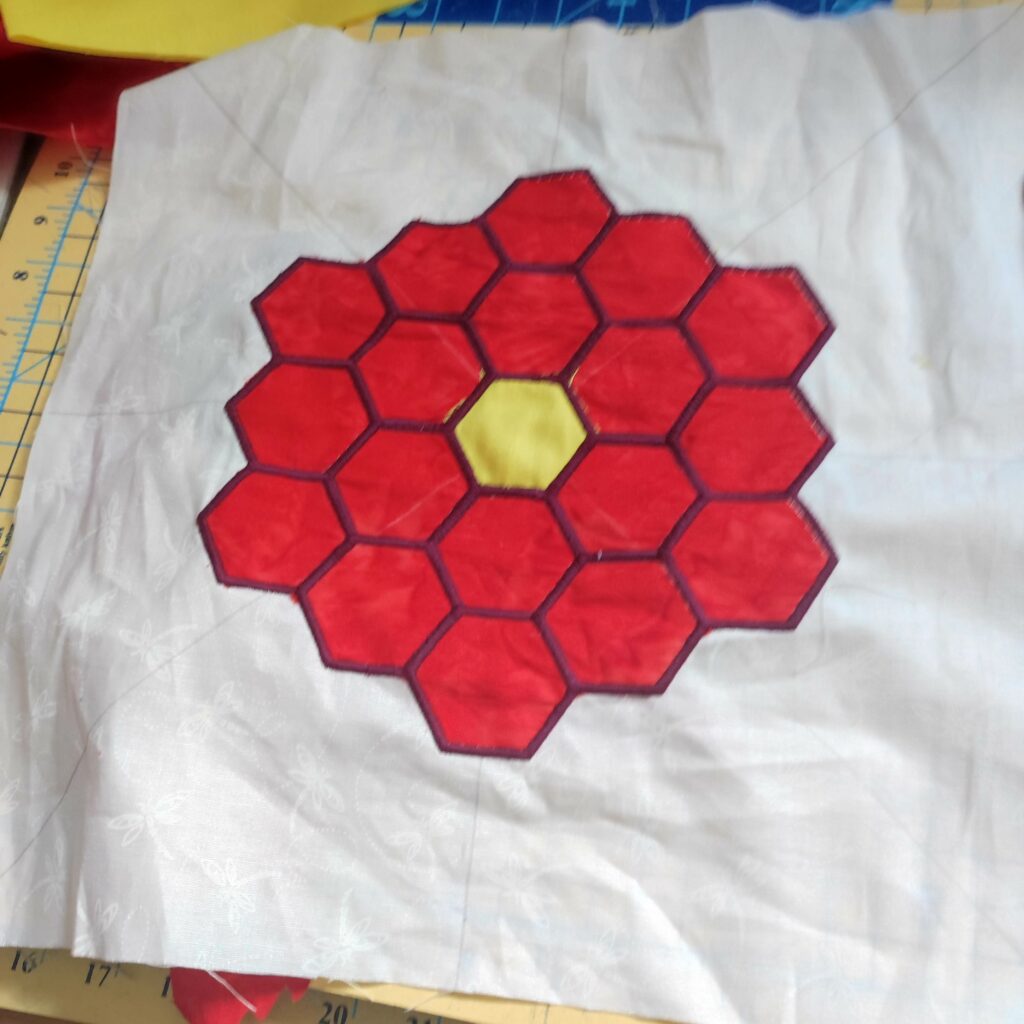
But a note about the satin stitches. I will not use this method again. It took me three (3) days of stitching to finish this simple block. One (1) day cutting hexagons and stitching each down on my 12 1/2 x 12 1/2 backgroud block. And two (2) days to acutually stitch all the satin stitches. However, I never do myself any favors. I manually tapered each point on every hexagon. What fun. My Bernina B590 does not offer tapering. However my Pfaff Creative Sensation does have this feature, which would have made my life so much easier. So suggested do not try this unless your machine has a tapering feature. Just for Sanity!
Working with Hexagons
Talk about teaching a old dog new tricks. I learned something new working with the hexagons in this project.
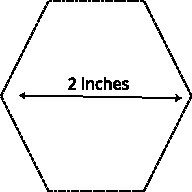
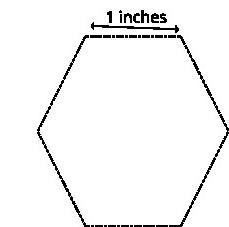
I was always taught that a Hexagon is measured by using its diameter. Point to point. So in this block you would use 2 inch finsihed hexagons. However in quilting a hexagon is measured by one side. Thus getting a 1 inch finished hexagon. Always something new.
Piecing Hexagons
If you choose to piece the hexagons, then you would need to cut 19 – 1 1/2″ inch hexagons for this block. It must be noted that when piecing hexagons you do not want to stitch from edge to edge. The reason is the stitch crossing all the different corners causes little bumps in your block. Therefore, you always piece a hexagon starting 1/4″ from the edge and stopping 1/4″ before the ending edge. This why so many hand piece. However, with many modern machines you can create a program stitch that is 1″ long or 25mm to 25.5mm long swam (1″ equals 25.4mm). You can even program locking stitches. On my Bernina this procedure is called Stitch Recorder, On my Pfaff called Stitch Program My old Janome MC 12000 would automaticlly ask if I wanted to repeat the stitch sequence that was just completed, this popup showed when using the piecing function in the T-shirt menu.
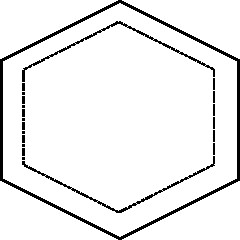
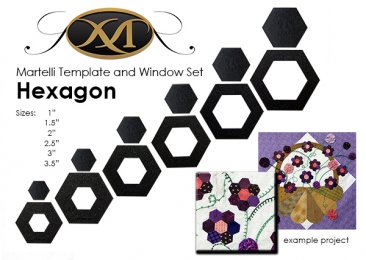
Notice the inside stitching line in the imagine above. To make this process easier, I would mark my seam lines. Using Martellie Hexagon Templates use the 1 1/2″ hexagon template to cut the 19 hexagons. Then using the 1″ hexagon placing in the center of the cut 1 1/2″ hexagon piece, using pencil or other marking tool, mark the seam allowance, using the edge of the 1″ hexagon template. You can also use a Studio 180 Magic Wand or any other tool that helps you to mark a 1/4″ seam allowance.
Satin Stitch Applique
I choose to use Satin Stitch applique. Using the same method with Turned or Raw Edge, minus satin stitching around each seam.
First cutting 19 – 1″ inch hexagons, I used Martelli Heagon Templates. Also need to cut 12 1/2 x 12 1/2 inch background square. Locate the center of the background square. Note the pencil lines from corner to corner and middle to middle on the image below. Gluing your center hexagon to the center of the square Then glue each round of hexigons. for a total of two (2) rounds. I used Acorn Precision Piecing Seam Align Glue, however, it is okay to use Elmer’s or any other Water Soluble glue for this step.
After the glue is set, either by drying or pressing with a warm iron. Using a small zigzag stitch, I used 3mm wide by 2mm lengh. Using your stitch in the ditch (edge stitch) foot (#10 Bernina Foot), stitch around all the edges of your hexagons. The blade of your foot can follow the space around each hexagon. (Thus you have 1.5mm on each hexagon). This secures yours hexagon pieces to your background fabric.
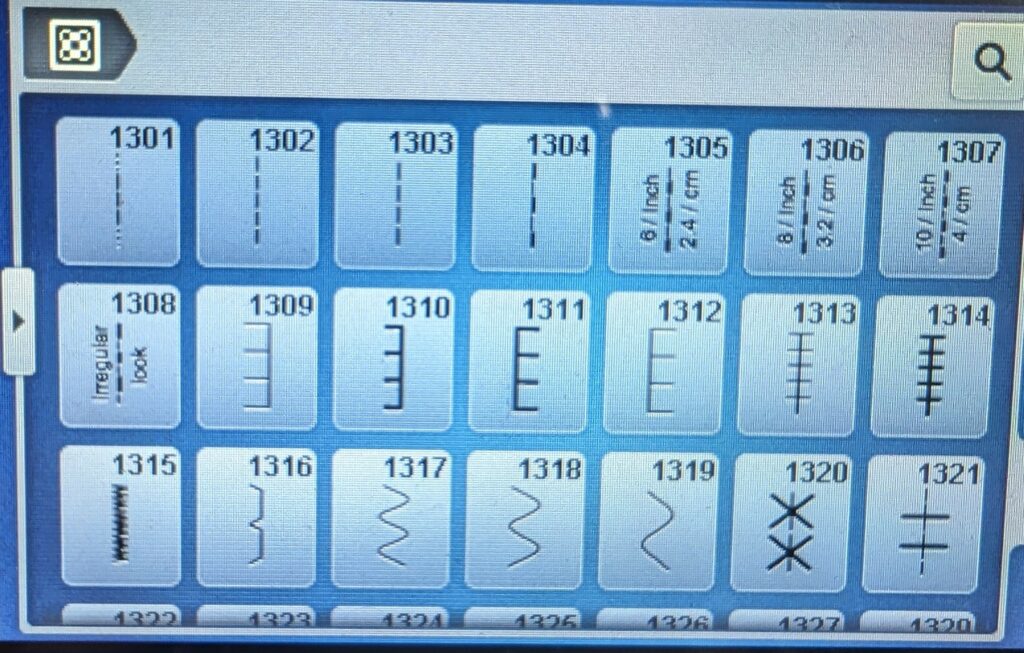
Note, if you choose the Raw edge method, then it may be better to increase the width of your zigzag to 4mm or 5mm. Also you can use a blacket stitch or double blanket stitch for this method (Blanket Stitch1309 and Double Blanket Stitch 1313, This stitches my be differrent on your machine). By choosing Turned edge, then may want to decrease your stitch width for a more invisible stitch.
Statin Stitching
Choosing a tapered statin stitch was a difficult choice. Wanting to make the design look more like a flower bloom and each heagon as a single petal. Adding two (2) layers of tear away stablizer. Also used used a tapered 4mm statin stitch, using Amann Mettler Saba 80 weight, corespun polyester thread.
Well this was a interesting block and first step in creating the Billie Sampler. Loved the choosen method in theory. However, time and end results where not exactly what was intended. Will I redo the block no! Will I choose this method again NO!