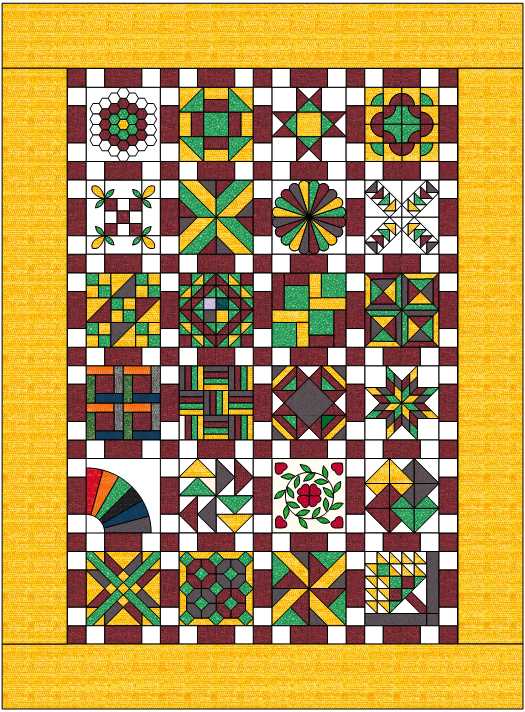
Well the 24 blocks of the sampler is completed. This was interesting sampler
Many of the Blocks were Paper Pieced for simplicity and accuracy. Also many of the blocks were designed to be hand pieced. By machine piecing many of the techniques had to be adapted. There were lots of Partial Seams, Y Seams These techniques are almost impossible using a machine
Like the 45 degree diamonds it is easy to nudge a diamond into position. But using a sewing machine it is impossible to nudge.
So we have learned many new ways of making our blocks. And adapting to changing time.
I have put this project away, into my UFO pile. I lost interest and failed. But I look forward to seeing how you choose to complete the project.
I personally learned I like paper piecing and also have developed a thing for triangles Half and Quarter Square Triangles.
The Blocks
Below is a link to each of the 24 individual blocks.
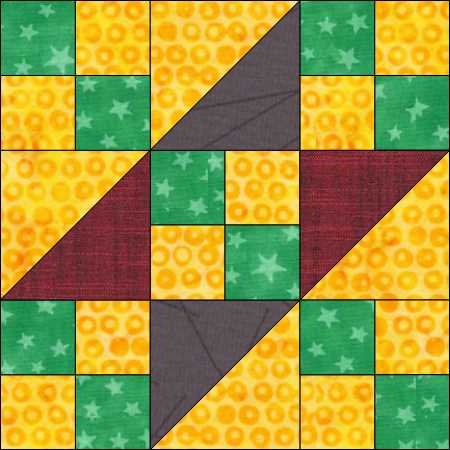
Jabob’s Ladder, Block 9 Billie’s Sampler is a simple wonderful old block. It is super simple. Based on a nine patch, but made with 5 sub four patch blocks and 4 sub half square triangle (HST) blocks. Block measures 12 x 12 inches finished.
Cutting
Square 2 1/2″ 10 x Colored Fabric and 10 x Background Fabric
Square 6″ 2 x Colored Fabric and 2 x Background Fabric
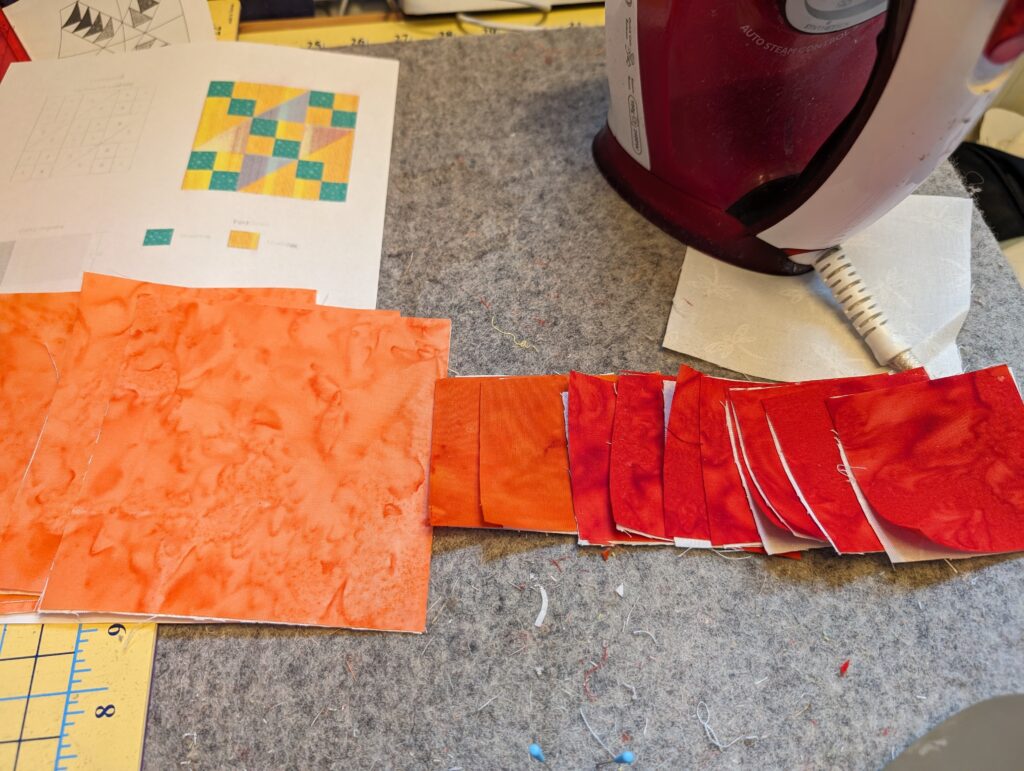
This is a simple block. The cutting instructions are exact cuts. No margin for error. I cut my HST blocks larger and trim to compensate for any error or miss alignment.
Assembly
Marking stitch lines on the background 6″ squares for making 2 at a time HSTs. I use a Studio 180 Magic Wand to mark the seam line. However you can draw a single line from corner to corner and stitch 1/4 from both sides of the line.
Using Seam Align Glue, I secure my square from corner to corner. The adding the colored fabric 6″ square
Using heat to set the glue, securing the squares. Ready for stitching.
For simplicity. start creating your 4 patch units. using 1 x color fabric and 1 x background fabric 2 1/2″ squares. 10 units are ready for stitching 1/4″ seam allowance
Stitch each side of the center of your square. I use a 1.8 mm straight stitch with 150 wt corespun polyester thread, There is absolutly no bulk in your seams. After stitching the 2 squares, cut down the middle corner to corner, creating 2 HSTs per square unit. Press your HSTs open. I press to the darker fabric.
Using the 4 1/2″ square template. Align opposite corners along the seam of your HST. The template will give you a perfect edge to trim your HSTs to the proper size.
Align your 2 patch units with opposits to create a 4 patch unit. Upon completion there will be 5 x 4 patch 4 1/2″ units.
Almost finished. Assemble your final 9 patch unit. your finished unit should be 12 1/2 x 12 1/2 inches. Also take note on the placement of the HSTs. This is important to complete the effect of the Jacobs Ladder block.