Quilting On A Budget

Tag: windmill variation

Billie’s Sampler

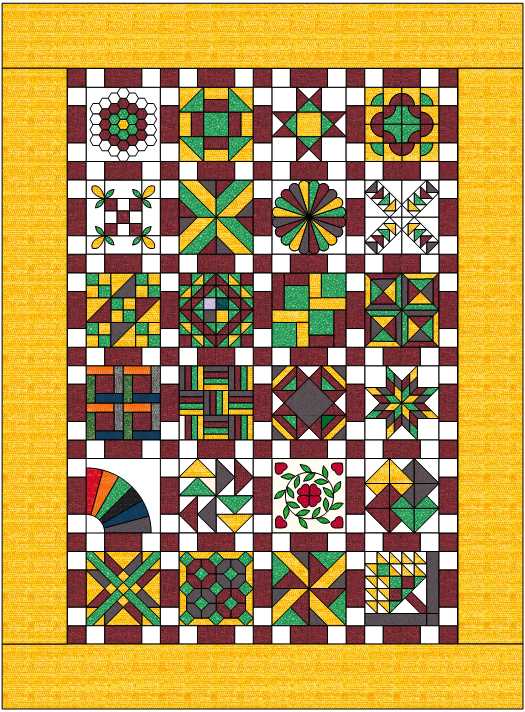
Well the 24 blocks of the sampler is completed. This was interesting sampler

Many of the Blocks were Paper Pieced for simplicity and accuracy. Also many of the blocks were designed to be hand pieced. By machine piecing many of the techniques had to be adapted. There were lots of Partial Seams, Y Seams These techniques are almost impossible using a machine

Like the 45 degree diamonds it is easy to nudge a diamond into position. But using a sewing machine it is impossible to nudge.

So we have learned many new ways of making our blocks. And adapting to changing time.

I have put this project away, into my UFO pile. I lost interest and failed. But I look forward to seeing how you choose to complete the project.

I personally learned I like paper piecing and also have developed a thing for triangles Half and Quarter Square Triangles.
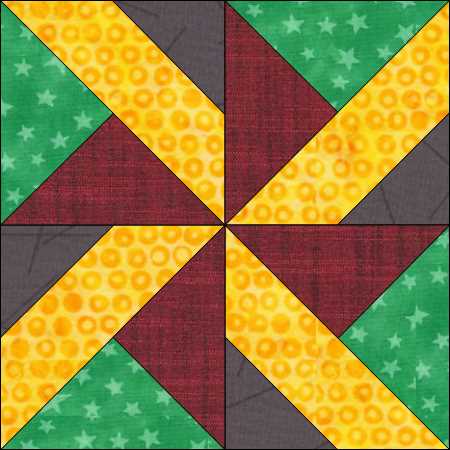
The Blocks

Below is a link to each of the 24 individual blocks.

Block 1 – Grandma’s Flower Garden

Block 2 – Monkey Wrench

Block 3 – Ohio Star

Block 4 – Drunkards Path

Block 5 – Honey Bee

Block 6 – King X

Block 7 – Dresden Plate

Block 8 – Flying Geese

Block 9 – Jacob’s Ladder

Block 10 – Garden Path

Block 11 – Patience Corner

Block 12 – Framed Square

Block 13 – Bright Hopes

Block 14 = Rail Fence

Block 15 – Night and Noon

Block 16 – Morning Star

Block 17 – Grandmother’s Fan

Block 18 – Dutchman’s Puzzle

Block 19 – Bridal Wreath

Block 20 – Card Trick

Block 21 – Mexican Star

Block 22 – Kansas Dugout

Block 23 – Windmill Variation

Block 24 – Tree

Windmill Variation

Block 23 – Billie’s Sampler

This was a quick easy block. I again chose to paper piece, as I wanted all my points and colors to be perfect. It is basically I simple 4 patch which I paper pieced each sub block. The sub blocks are all the same except for the direction in which they are turned into the block, creating the windmill effect.

Cutting

Above is the cutting instructions . The Foundation Paper Piecing templates. However if you choose to piece using traditional methods the last document is the actual templates that can be used.

This block has a weird cutting instructions. I just cut half square triangles to convert

2 x 3 7/8 x 3 7/8 inch square (I cut mine 4 1/2″) cut into half square triangles (HSTs). 2 squares second color (gray in the example) or 4 HSTs

4 x 5 1/8 x 5 1/8 inch square (cut mine 6″) cut into HSTs. 2 square color 3 and 2 squares color 4, should be 4 HSTs each color for a total of 8 HSTs

2 x 3 1/2″ strip Width of Fabric (WOF) (I used Fat Quarters (FQs)) this is background fabric (Yellow in example)

Assembly

All the HSTs have been cut out

Using Seam Align Glue to secure the first triangle which was orange. I then added the second triangle red secure seam with Seam align glue, then stitched using 150wt Saba from Amann Mettler with a 1.8mm straight stitch. Note: I made all 4 sub blocks at one time exactly the same

after pressing the second triangle into place, I secured my background strip to the long edge .

and finally adding the smaller corner HST to the sub block.

Now trim the 4 sub blocks on the cutting line.

with the 4 complete sub blocks arrange them in proper order and assemble as a standard 4 patch block.

Success your 23 Block Windmill Variation is complete only one more block in the Billie’s Sampler wow can’t believe we made it this far.

Video